Crate training is one of the most effective ways to house-train your puppy, help them feel secure, and reduce anxiety. When introduced properly, the crate becomes a safe and comforting space for your pup—and a helpful tool for you.
In this guide, you’ll learn step-by-step how to successfully crate train your puppy with kindness, structure, and confidence.
🐾 Why Crate Training Is Important
Before jumping into the steps, let’s explore the key benefits of crate training:
- House Training – Helps prevent accidents and teaches bladder control.
- Safety & Security – Offers a safe environment when you’re not home.
- Anxiety Reduction – Serves as a calming “den” when introduced positively.
- Travel-Friendly – Prepares your dog for car rides, vet visits, and more.
")
Step 1: Choose the Right Crate
The right crate sets the foundation for success. Here’s what to look for:
- Size: Your puppy should be able to stand, turn around, and lie down comfortably.
- Fit: Not too large—otherwise, they may use one end as a bathroom.
- Material:
- Wire crates offer ventilation and visibility.
- Plastic crates feel more den-like and cozy.
💡 Pro Tip: If you have a growing puppy, use a crate divider to adjust space as they grow.
")
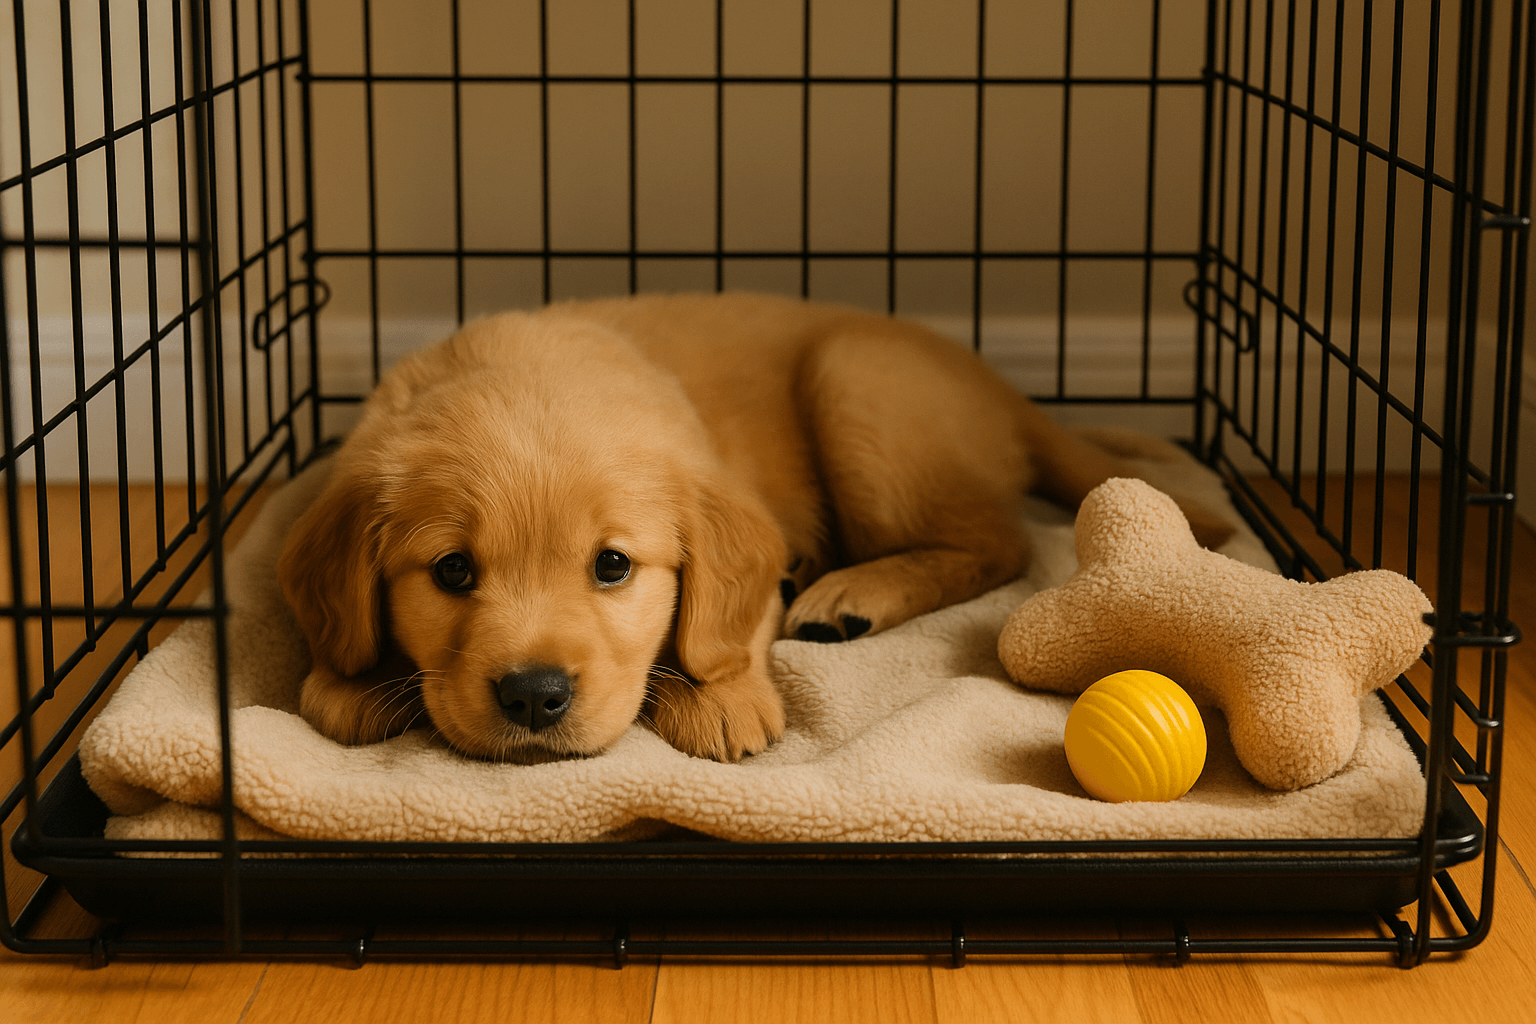
Step 2: Introduce the Crate Positively
You want your puppy to associate the crate with good things from the beginning.
- Place the crate in a common room where they feel included.
- Keep the door open and let them explore it voluntarily.
- Add soft bedding, a favorite toy, and a few treats inside.
💡 Never force your puppy into the crate—let them go in at their own pace.
")
Step 3: Make the Crate a Fun Place
Reinforce positive associations through routine:
- Feed meals inside the crate.
- Offer treat-dispensing toys or safe chew toys while crated.
- Praise and reward every time they go in on their own.
Start with short sessions and gradually increase time inside.
")
Step 4: Establish a Routine
Consistency is key to success.
Daytime Crate Training:
- Begin with 5–10 minute intervals while you’re nearby.
- Gradually extend the time.
Nighttime Crate Training:
- Place the crate in your bedroom at first.
- Take them out for bathroom breaks—young puppies can usually hold it for 2–3 hours max.
💡 Use calm, simple phrases like “crate time” so your puppy learns the command.
Step 5: Handling Whining and Barking
Whining is normal at first. Here’s how to manage it:
- Ignore minor whining: Don’t open the crate just because they cry.
- Stay calm: Speak in a soothing tone but avoid coddling.
- Assess needs: If it’s been a while, take them out briefly for a potty break.
💡 If whining persists beyond 10–15 minutes, calmly take them outside without playing or interacting much.
")
Step 6: Gradually Extend Crate Time
As your puppy adjusts:
- Start stepping out of the room for short periods.
- Extend crate sessions slowly, ensuring enough play and potty time.
- Puppies shouldn’t be crated longer than 4–6 hours during the day.
Step 7: Transition to Long-Term Use
Once your puppy is crate-comfortable:
- You can leave them in the crate when you’re out of the house.
- Avoid dramatic hellos and goodbyes to prevent separation anxiety.
- Keep using the crate as a positive place—not as punishment.
🚫 Common Crate Training Mistakes to Avoid
- Using the crate as punishment – Breaks trust.
- Leaving them crated too long – Puppies need socialization and frequent potty breaks.
- Responding to every whine – Reinforces crying as a way to get out.
- Lack of exercise – A tired puppy is more likely to relax in the crate.
Final Thoughts
Crate training isn’t about confinement—it’s about comfort, safety, and structure. With patience, consistency, and positive reinforcement, your puppy will grow to love their crate.